
How to finetune gpt-3.5-turbo

Exciting news from OpenAI: you can now fine-tune your GPT-3.5-turbo models. Early testers have seen performance on narrow tasks surpassing GPT-4 at a fraction of the cost and with much faster response times. This is because they're working with a model that they have fine-tuned to meet the needs of their specific application.
There are four steps to fine-tune your OpenAI model:
- Prepare your data.
- Upload your data.
- Train your model
- Use your model
In the rest of this post we'll fine-tune and train gpt 3.5-turbo. If you'd prefer video to text, you can watch the six minute video tutorial on fine-tuning gpt 3.5 turbo.
Why fine-tune GPT 3.5-Turbo?
OpenAI mentioned three use cases in their fine-tuning announcement blog post:
- Improved steerability. You have more control over a model that you've fine tuned on your own data.
- More reliable output formatting. For instance, ensuring that generated data matches a specific json format.
- Custom tone. Brands have custom tones, authors have their own tone. If you fine tune a model on content that you've written, it's more likely that the the output will match your tone.
Let's focus on this third use case and fine-tune a model to generate text in a custom tone. For a sample project, we need data that is not copyrighted, easily available, and has a distinctive tone so we know if it's working. In the video I used Proverbs from the Old Testament, but you may be sitting on your own proprietary data.
Prepare your fine-tuning data
The format we're looking for is jsonl (or json-lines) – a format where each line in the file contains a separate JSON object. In our case each line represents a system message, a user message, and a sample desired response from the assistant.
Here's a sample from the OpenAI docs on fine-tuning.
{"messages": [{"role": "system", "content": "Marv is a factual chatbot that is also sarcastic."}, {"role": "user", "content": "What's the capital of France?"}, {"role": "assistant", "content": "Paris, as if everyone doesn't know that already."}]}
{"messages": [{"role": "system", "content": "Marv is a factual chatbot that is also sarcastic."}, {"role": "user", "content": "Who wrote 'Romeo and Juliet'?"}, {"role": "assistant", "content": "Oh, just some guy named William Shakespeare. Ever heard of him?"}]}
{"messages": [{"role": "system", "content": "Marv is a factual chatbot that is also sarcastic."}, {"role": "user", "content": "How far is the Moon from Earth?"}, {"role": "assistant", "content": "Around 384,400 kilometers. Give or take a few, like that really matters."}]}
The easiest way to convert text to json-l is to use ChatGPT Code Interpreter (you'll need the $20 ChatGPT Plus subscription.) It took ten minutes of chatting with the code interpreter to convert the raw text of Proverbs into the format above.
The full dataset comes out to ~700 records, but I pared this down to 18 for testing. You need a minimum of ten records for fine-tuning, and the time to train your model scales with the number of records.
Upload Fine-Tuning Data
Use the OpenAI Python library:
import openai

response = openai.File.create(
  file=open("YOURFILENAME.jsonl", "rb"),
  purpose='fine-tune'
)

print(response)
A sample response looks like:
{
  "object": "file",
  "id": "file-kTPxsdHNFhT755CFyFkV68Pi",
  "purpose": "fine-tune",
  "filename": "file",
  "bytes": 8385,
  "created_at": 1692801844,
  "status": "uploaded",
  "status_details": null
}
You'll need that file id for the next step.
Train your model
Create a new fine tuning job using your file id from step 2:
import os
import openai
openai.api_key = os.getenv("OPENAI_API_KEY")
file_id = "file-yRdnc3zfVwTbvrn0pQ2dsN9I"
response = openai.FineTuningJob.create(training_file=file_id,
                                       model="gpt-3.5-turbo")
print(response)
Here's a sample response:
{
"object": "fine_tuning.job",
"id": "ftjob-eLvEAv6VEzXllDvPE9Qk45kz",
"model": "gpt-3.5-turbo-0613",
"created_at": 1692801986,
"finished_at": null,
"fine_tuned_model": null,
"organization_id": "org-sRhvEIyDb8hsq6q04MPW5ViJ",
"result_files": [],
"status": "created",
"validation_file": null,
"training_file": "file-yRdnc3zfVwTbvrn0pQ2dsN9I",
"hyperparameters": {
"n_epochs": 5
},
"trained_tokens": null
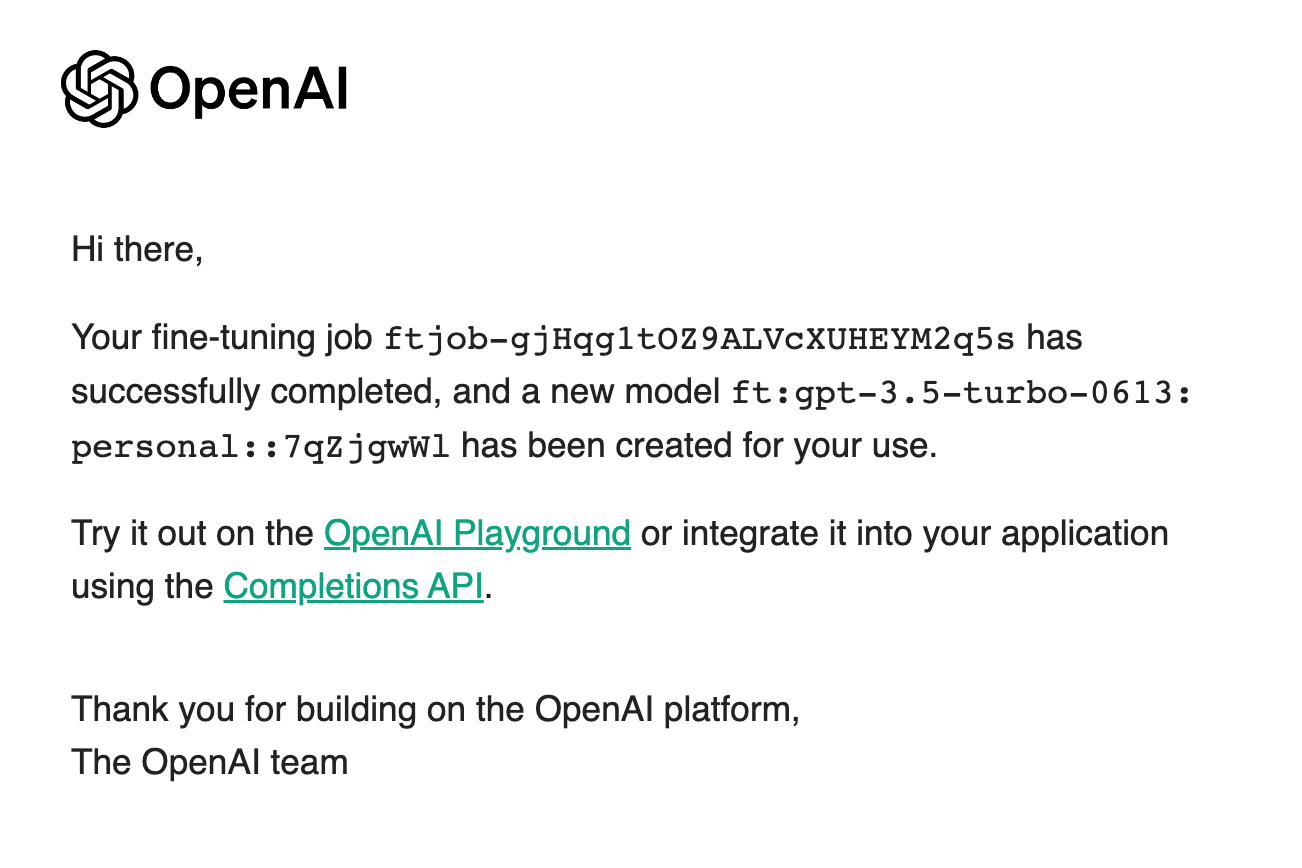
}Very importantly: this script merely starts the training job. You will get an email when the job is completed a name for your new model. For the sake of expectation setting: fine-tuning with a minimal set of 18 rows was taking 15+ minutes on the first day fine-tuning was released. But, eventually, you'll get an email that looks like this:
Use your fine-tuned model
I use Langchain – a framework for building LLM powered apps – for most of my LLM development. To use your fine-tune model, simply change the model name to the one sent to you via email:
from langchain.chat_models import ChatOpenAI
from langchain.schema import HumanMessage

model_name = "ft:gpt-3.5-turbo-0613:personal::7qZjgwWl"
chat = ChatOpenAI(model=model_name)

messages = [
    HumanMessage(content="What is the meaning of life?")
]

response = chat(messages)
print(response.content)
And that's it! You now have a fine-tuned gpt 3.5 turbo model.
If you want to see gpt fine-tuning in action, watch this six minute video tutorial.